| Tweet |

Custom Search
|
|

|
||
 TM 9-2330-380-14&P
5-7. Spring (cont'd)
7. Remove two nuts (6) and washers (5) from each trunnion U-bolt (4). Remove lower hub (7).
Lift up
U-bolts (4) and remove wear plate (13).
8. Lift up spring ends and slide out spring (12).
9. To remove trunnion U-bolts (4), rotate trunnion hub to side and remove U-bolts.
b. Cleaning and inspection
1. Remove dirt with water and brush (item 15, Appendix E).
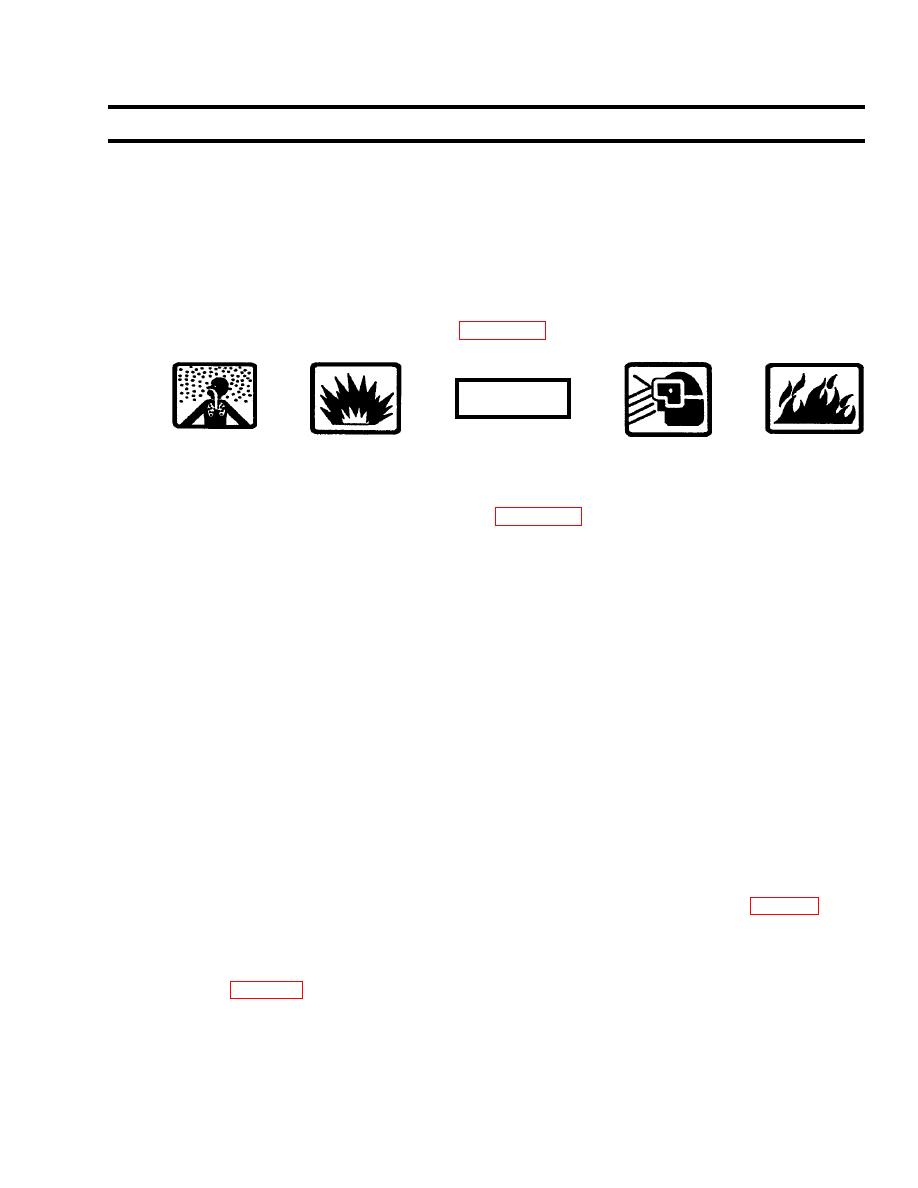
WARNING
Dry cleaning solvent (P-D-680) is toxic and flammable. Avoid prolonged breathing of vapors. Avoid
skin contact. Use only in a well-ventilated area. Keep away from open flame. Flash point of solvent
is 138o F (50o C).
2. Remove grease with dry cleaning solvent (item 3, Appendix E).
3. Inspect for loose, missing or damaged hardware.
4. Inspect spring for cracks, breaks and excessive wear.
5. Inspect for rust or corrosion.
6. Replace spring if defective or excessive wear is apparent.
c. Installation
1. Position spring on axle.
2. Position end caps (11) and secure with eight screws (10), washers (9) and nuts (8). Tighten
nuts to a torque of 180 lb-ft (244 Nm) dry or 130 lb-ft (176.3 Nm) lube.
3. Install axle U-bolts (3) and secure each U-bolt with two nuts (1) and four washers (2). Tighten nuts to a
torque of 300 lb-ft (406.8 Nm) dry or 220 lb-ft (298.3 Nm) lube.
4. Install trunnion U-bolts (4), insert lower hub (7) in position and secure with nuts (6) and washers (5).
Tighten nuts to a torque of 880 lb-ft (1193.3 Nm) dry or 660 lb-ft (895 Nm) lube.
5. After installation of new spring, axle should be aligned in relation to semitrailer kingpin (para. 5-6).
Follow-onmaintenance:
Install wheels (para. 3-4).
5-7
|
||
 |
||