
| Tweet |

Custom Search
|
|

|
||
 TB 9-2330-329-14&P-1
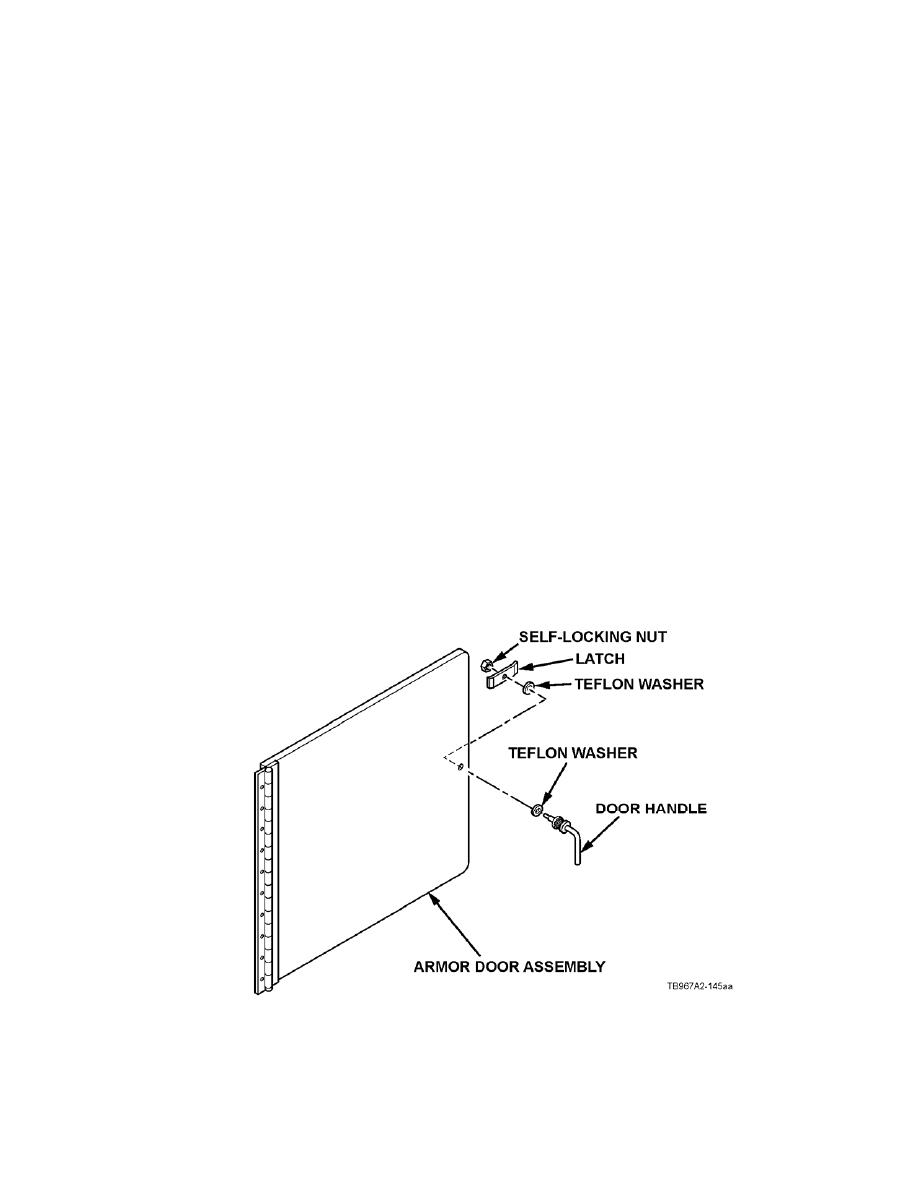
INITIAL INSTALLATION (continued)
NOTE
Armor door assemblies may or may not have door handles installed
when shipped. If door handles are not installed they are supplied
separately with each door assembly. Perform Steps 83 through 86 to
install the door handle on all curbside door assemblies.
83. Position one Teflon washer on door handle.
84. From the outside of the armor door assembly, insert threaded end of door handle through the
hole in the armor door assembly. Position second Teflon washer on threaded end of door
handle on inside of armor door assembly. Teflon washers must contact the exterior and interior
surfaces of the armor door assembly.
NOTE
Ensure the key in the hole seats on the key of the threaded portion of
the door handle. The latch must be positioned so that the bent ends of
the latch point away from the armor door assembly.
85. Position latch onto threaded end of door handle and install with self-locking nut.
86. Check operation of door handle. Proper range of motion of door handle limits latch travel to the
90 degree arc between the latch stops on the inside surface of the armor door assembly.
4-29
|
||
|
||


